I think this recipe needs no introduction, and it certainly is not worthy of "lightening" that's for sure. In any dessert, it's usually a given that I will reduce the amount of butter or eggs, but in this family recipe, it would be something I would never dream of.
I grew up in a family of rhubarb lovers, which I count as fortunate since now that I've aged, I realize that some people detest it's tangy, sour taste. As long as I can remember, my Parent's have had a patch of rhubarb. Every Spring, we would have Rhubarb Kuchen, a recipe that came from my Dad's Mom. It is still my Dad's favorite dessert, and an easy one to enjoy in seasons other than Spring, due to rhubarb's love affair with the freezer.
The rhubarb that is currently established on my Parent's 'farm' is from my Gram's patch in northern Wisconsin. I'm hoping to get a few off-shoots of their plants to establish my own little patch in what I'm hoping will soon be my new raised bed gardens in my back yard. It always amazes me that generations of plants can thrive. In our culture of bigger, better and new, I find it so comforting to know that I can glean nutrition from a plant that was first propagated maybe 50 years ago. That is amazing.
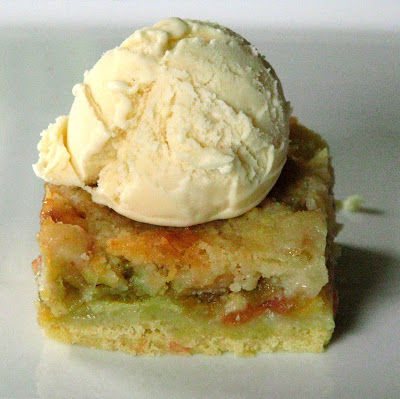
Not only does it scream out to be eaten with ice cream, it keeps well in the refrigerator for at least a week, if you don't find yourself nibbling at it each time you open the door. Make this in a 9x13 pan, and if you you find yourself in a non-rhubarb-loving household as I do, you can make yourself insanely popular and give some away. I'm not sure where my Grandmother got this recipe, but I know it was from my Dad's side. I'll have to see if I can track down the pedigree. That side of the family really doesn't have any German ancestry, but fortunately for me, this recipe landed in their hands! While I most always bake with unsalted butter, I always use salted for this Kuchen, since that it what my Mom used.
Rhubarb Kuchen
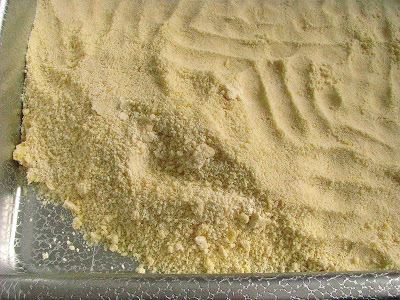
Crust:
- 2 c. flour
- 2/3 c. butter, cut into 1/2 inch pieces
- 1 egg
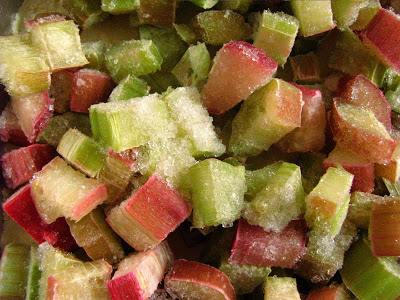
- 6 cups rhubarb, not defrosted if frozen (I used closer to 7 cups)
- 2 c. sugar
- 4 eggs
- 1 c. sugar
- 1 c. flour
- 1/2 c. butter, cut into 1/2 inch pieces
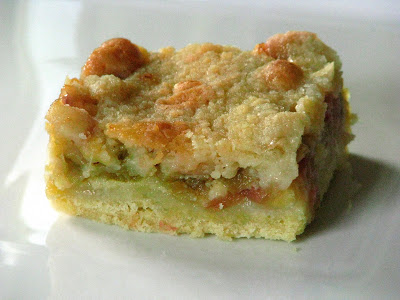
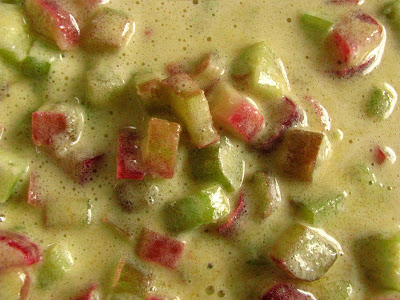
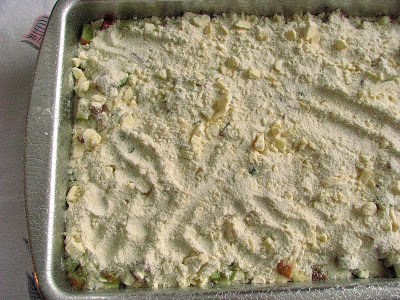
Using a food pro, (you can do it by hand) pulse crust ingredients until they look like "coarse sand". Spread them into the 9x13 pan, and press into a crust. Then, spread the rhubarb over the crust, mix the custard ingredients together, and pour over the rhubarb. Finally, pulse the topping (no need to have washed the food pro first), and sprinkle over the top. Bake for 50-75 minutes until the topping is nicely browned. It will firm up a bit more as it cools.
You will no doubt find yourself with a spoon, testing out a corner of this dessert as soon as it makes it's way from the hot oven... but it is just as lovely at room temperature or cold. Just out of the fridge, it has a bright rhubarb flavor and full buttery-ness about it. I like to eat it for breakfast, so that it's calories can be burnt off through the course of the day. But, I'm not above having it just before lights out, either.