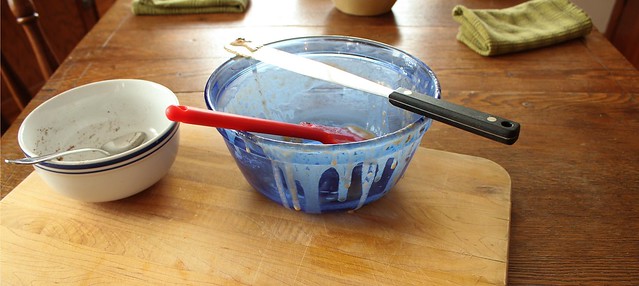
The January Sourdough Surprises bake along was babka, and I felt particularly excited to experiment since I am finally feeling more like myself. I can't tell you how disappointed I was for so many weeks to have my stomach turn at the mention or sight of bread! It was like my lifeblood was replaced with someone else entirely and while my brain knew that it was likely to be temporary, my heart worried that I would never return to my old self.
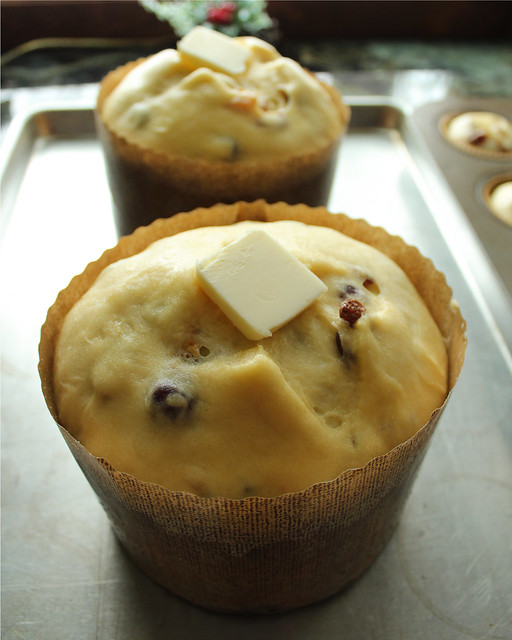
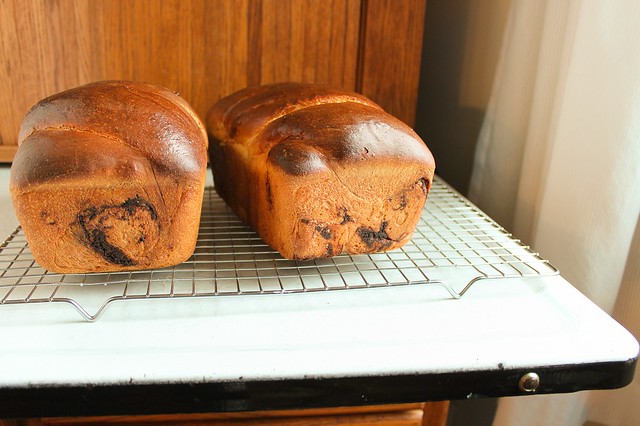
Well, the carbohydrates look appealing once again - and not a moment too soon, since this fortified bread is one of the lovliest I've ever made. There is something about working with large amounts of eggs and butter and coaxing it into a durable dough that is so satisfying. The bread seems to take on a life of its own too, changing ever so slightly as the days wear on but still wonderfully tasty in new ways.
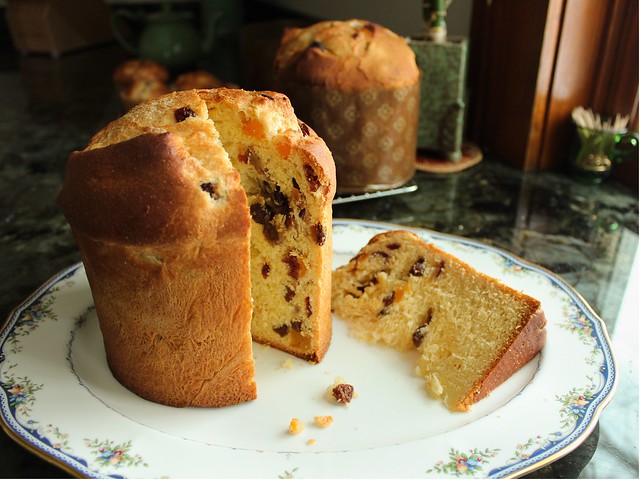
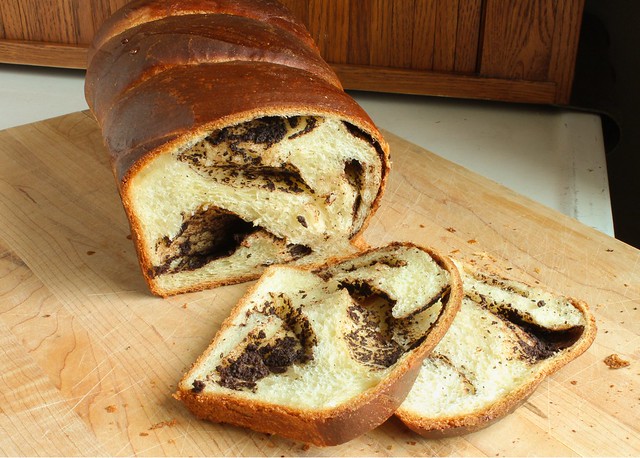
I have never eaten a babka. Not once. Until recent years, I left all heavy duty, enriched breads to my imagination, never making the excuse to play around with them. But no more. Like for most people I'm assuming, babka conjures images of 90's television, when Jerry Seinfeld and Elane Benes are disheartened at the prospects of bringing an inferior offering to a dinner party. Even though I'd never had one, I knew that my sourdough babka would need two things: to be based on a recipe by Nancy Silverton (a native Los Angelean who no doubt knows her bread) and to have both chocolate and cinnamon twisted into the middles. Both turned out to be good requirements.
Well, the carbohydrates look appealing once again - and not a moment too soon, since this fortified bread is one of the lovliest I've ever made. There is something about working with large amounts of eggs and butter and coaxing it into a durable dough that is so satisfying. The bread seems to take on a life of its own too, changing ever so slightly as the days wear on but still wonderfully tasty in new ways.
I have never eaten a babka. Not once. Until recent years, I left all heavy duty, enriched breads to my imagination, never making the excuse to play around with them. But no more. Like for most people I'm assuming, babka conjures images of 90's television, when Jerry Seinfeld and Elane Benes are disheartened at the prospects of bringing an inferior offering to a dinner party. Even though I'd never had one, I knew that my sourdough babka would need two things: to be based on a recipe by Nancy Silverton (a native Los Angelean who no doubt knows her bread) and to have both chocolate and cinnamon twisted into the middles. Both turned out to be good requirements.

I based the bread dough on Silverton's brioche recipe, using my 100% hydration starter that had been recently fed. In her book Breads from the La Brea Bakery, she writes the recipes by days. This bread for example takes 3 days, and I will follow her writing format since it is a good way to keep track of what you are doing. While I usually prefer bread weights in metric, her book is written with conventional measurements. I will keep them as she had them.
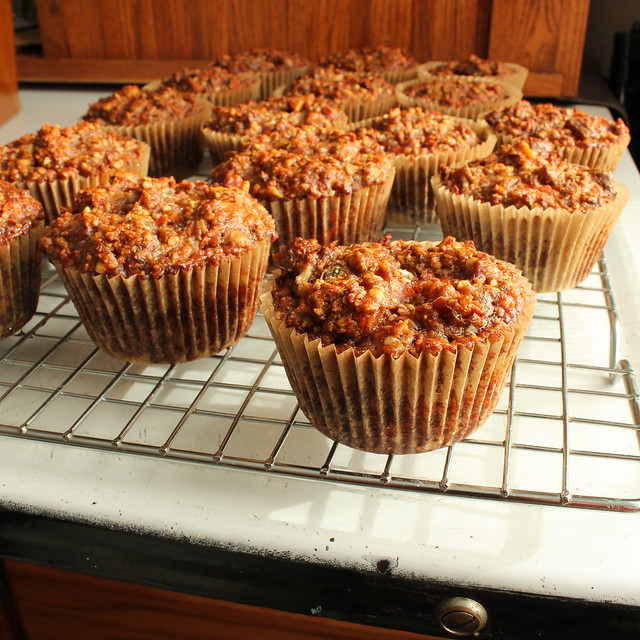
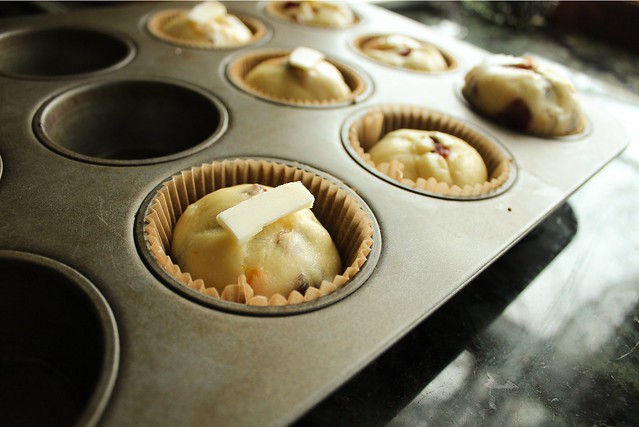
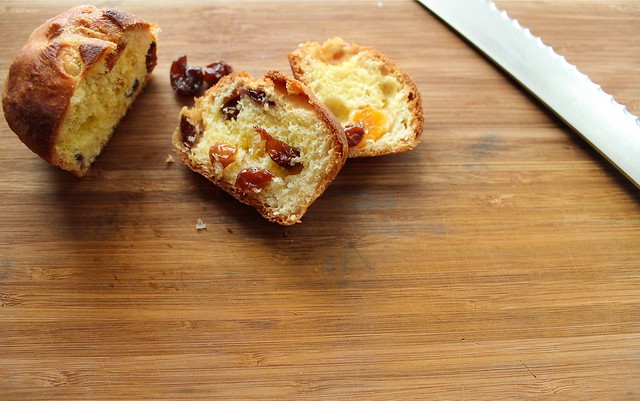
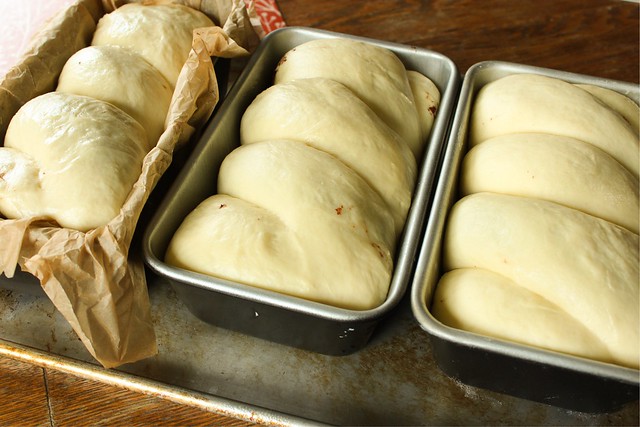
Her recipe yielded almost 4 pounds of dough for me, and I got 3 loaves from it (each about 1 lb, 5oz. prior to baking). I recommend using a wider, shallower pan rather than a longer, deeper one - and I also recommend using melted butter to coat them. The parchment test wasn't such a success. It "sliced" into the sides of the bread as it baked and made for an unattractive loaf.
Sourdough Babka with Chocolate and Cinnamon (inspired and adapted from Nancy Silverton and Peter Reinhart)
First Day (best to start in the morning)
Second Day
Remove the sponge from the refrigerator and take off the plastic wrap. Place sponge, half of the eggs, flour, and sugar in the bowl of a stand mixer fitted with a dough hook. Mix for about 2 minutes. (Dough should be kind of wet and sticky, but may not be depending on how much of the eggs were added.)
Add the salt, and continue mixing for 2 minutes, scraping down the sides of the bowl if needed. With the mixer still running, add the rest of the eggs a little at a time, making sure they are incorporated into the dough each time before adding more. Once all of the eggs are in, increase the mixer speed to medium high (Silverton recommends holding on to the mixer - and I had to!) and continue mixing until the dough is smooth and satiny and begins to "climb" up the dough hook, about 8 minutes. (The dough will also clean itself from the sides of the bowl.)
Turn the mixer speed back down to medium, and begin adding the butter one piece at a time. Make sure each piece is incorporated before adding the next. After adding all the butter, increase the mixer speed again to medium high and mix the dough until "smooth and shiny (but not greasy)", about 4 minutes. Silverton notes that the internal temp of the dough should be 76 degrees, mine didn't make it quite that high. (You may have to add a bit of flour to encourage the dough to wrap around the hook, but I found that after the mixer stopped, the dough seemed more slack than it did as it was mixing. I added more flour as I had it out on the counter.)
On a lightly floured work surface, turn out the dough and knead by hand for a few minutes. Use a bench scraper to help you, the dough will be quite sticky. Try to avoid adding too much extra flour. Coat a clean, large mixing bowl (or clean the mixer bowl you just used) with oil, and place the dough in it. Put it in the refrigerator, to let it continue fermenting 12-24 hours.
Third Day
Mix up chocolate cinnamon filling as described in the recipe below. Melt a little extra butter to coat the loaf pans, and brush the melted butter on them until they are well covered. (My pans were 9"x5"x3".)
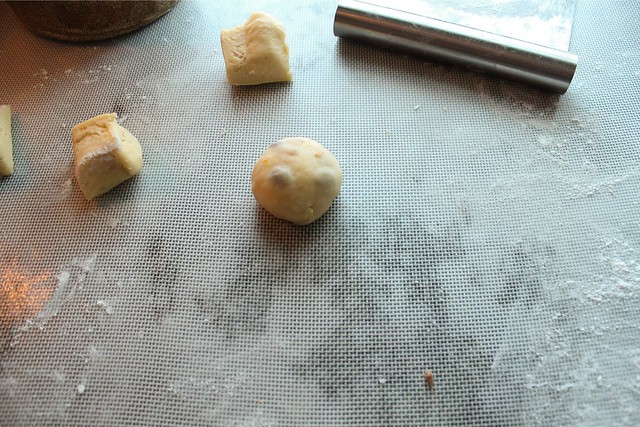
Remove the dough from the refrigerator. It should be noticeably risen to a twice the starting size. (If it isn't, let it rise at room temperature about an hour to continue rising.) Turn the dough out onto a lightly floured surface. The dough is easier to work with cold, and it may be somewhat sticky as the coldness leaves it. Weigh the bulk of the dough, and then divide into 3 equal loaves. Put the portions of dough you aren't working with back into the fridge to keep cool.
On a very lightly floured surface, or not floured at all, roll out the dough until it is about twice the length of the loaf pan you are using. (The width is not as important as the length - I watched this video, and you can see about the size around 2:06.) Don't aim for dough that is too thin, about 1/8 of an inch is what mine was.
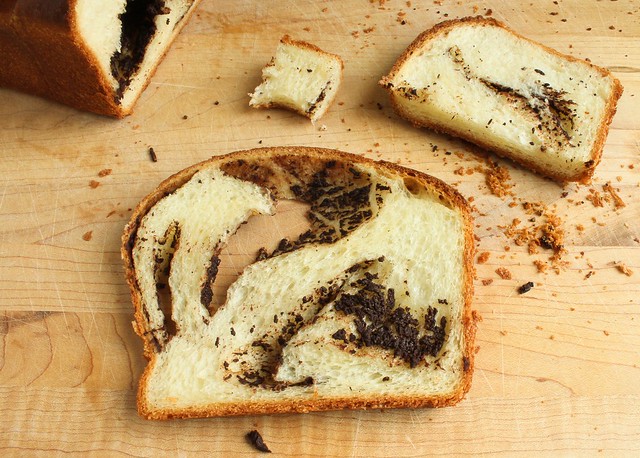
Spread 1/3 of the chocolate mixture evenly over the dough, leaving a bit of a border so that the dough will seal. Starting with the long edge nearest you, begin to roll the dough up until you have a long snake. Find the mid-point, and slice through it so that you have two equal sized pieces. Place the pieces side by side, seam down, so that the cut edges are opposite (about 5:10 in the video above), and then gently twist from the center out so you have a nice, even twist throughout the bread. Tuck it carefully into the buttered loaf pan, and set aside while you complete the others.
When all three loaves are completed, put them on a sheet pan and cover with a clean cloth. The best way to proof the breads is by this setup: Arrange the oven racks so that there is one on the bottom and one in the second position from the bottom. Put an empty cake pan on the bottom rack, boil some water, and fill it. As soon as it's filled, put the tray of breads on the rack above it and close the door. Leave to rise until the dough is cresting the top of the pans, about 2 hours.
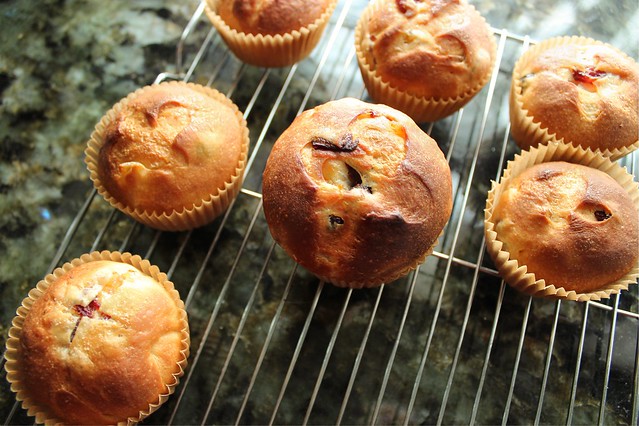
Just before the dough is about done rising, remove them from the makeshift proofer, remove the cake pan full of water, and preheat the oven to 500 degrees. (The oven racks can stay in the same position.) Let the oven heat for a good half an hour to ensure it is hot enough. When ready to bake, beat an egg with a teaspoon of water and brush the tops of the breads. Open the oven, and place the tray of three breads on the second to the bottom rack of the oven. Immediately reduce the heat to 450. Set the timer for 20 minutes. After 20 minutes, the breads should already been a deep golden brown, but they still need to bake for an additional 15-20 more minutes. Cover them with a sheet of aluminum foil if they are in danger of getting too dark.
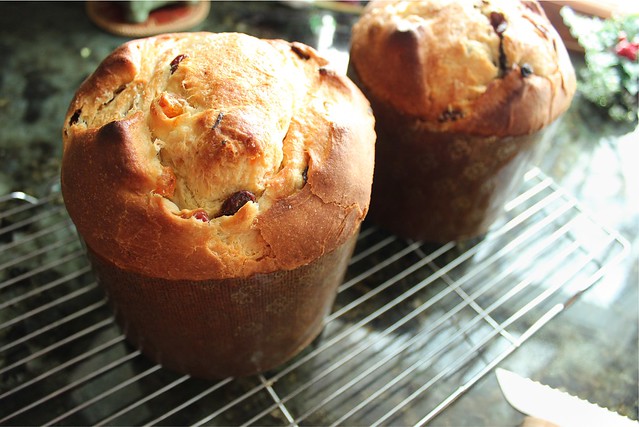
After the breads have baked a total of 40-45 minutes, remove the tray from the oven. One at a time, immediately remove the breads from the pans to a wire rack. (If you buttered well, they should come out easily.) If the sides of the breads feel firm, the breads are done - if they have some give, they will cave in as they cool... so return to the loaf pan and pop them back in the oven. As with all breads, let them cool before slicing, but since there are three loaves, you can be impatient with one and slice into it after 20 minutes if you can't wait.
Chocolate - Cinnamon Mixture (adapted from Peter Reinhart via the Purple Foodie)

Her recipe yielded almost 4 pounds of dough for me, and I got 3 loaves from it (each about 1 lb, 5oz. prior to baking). I recommend using a wider, shallower pan rather than a longer, deeper one - and I also recommend using melted butter to coat them. The parchment test wasn't such a success. It "sliced" into the sides of the bread as it baked and made for an unattractive loaf.
Sourdough Babka with Chocolate and Cinnamon (inspired and adapted from Nancy Silverton and Peter Reinhart)
First Day (best to start in the morning)
- 6 oz. (about) 3/4 c.) cool water
- 1 t. active dry yeast
- 6 1/2 oz. (about 3/4 c.) 100% hydration sourdough starter
- 4 oz. (about 1/2 c.) milk
- 10 oz. (about 2 1/4 c.) bread flour
Second Day
- 5 eggs, room temperature
- all of the sponge from the first day (above)
- 1 pound (about 4 cups) bread flour, plus extra for dusting
- 3 oz. sugar (about 1/3 c.)
- 1 T. Kosher salt
- 9 oz. (2 sticks, plus 2 T.) unsalted butter, cut into tablespoon sized pieces and at room temperature
Remove the sponge from the refrigerator and take off the plastic wrap. Place sponge, half of the eggs, flour, and sugar in the bowl of a stand mixer fitted with a dough hook. Mix for about 2 minutes. (Dough should be kind of wet and sticky, but may not be depending on how much of the eggs were added.)
Add the salt, and continue mixing for 2 minutes, scraping down the sides of the bowl if needed. With the mixer still running, add the rest of the eggs a little at a time, making sure they are incorporated into the dough each time before adding more. Once all of the eggs are in, increase the mixer speed to medium high (Silverton recommends holding on to the mixer - and I had to!) and continue mixing until the dough is smooth and satiny and begins to "climb" up the dough hook, about 8 minutes. (The dough will also clean itself from the sides of the bowl.)
Turn the mixer speed back down to medium, and begin adding the butter one piece at a time. Make sure each piece is incorporated before adding the next. After adding all the butter, increase the mixer speed again to medium high and mix the dough until "smooth and shiny (but not greasy)", about 4 minutes. Silverton notes that the internal temp of the dough should be 76 degrees, mine didn't make it quite that high. (You may have to add a bit of flour to encourage the dough to wrap around the hook, but I found that after the mixer stopped, the dough seemed more slack than it did as it was mixing. I added more flour as I had it out on the counter.)
On a lightly floured work surface, turn out the dough and knead by hand for a few minutes. Use a bench scraper to help you, the dough will be quite sticky. Try to avoid adding too much extra flour. Coat a clean, large mixing bowl (or clean the mixer bowl you just used) with oil, and place the dough in it. Put it in the refrigerator, to let it continue fermenting 12-24 hours.
Third Day
Mix up chocolate cinnamon filling as described in the recipe below. Melt a little extra butter to coat the loaf pans, and brush the melted butter on them until they are well covered. (My pans were 9"x5"x3".)
Remove the dough from the refrigerator. It should be noticeably risen to a twice the starting size. (If it isn't, let it rise at room temperature about an hour to continue rising.) Turn the dough out onto a lightly floured surface. The dough is easier to work with cold, and it may be somewhat sticky as the coldness leaves it. Weigh the bulk of the dough, and then divide into 3 equal loaves. Put the portions of dough you aren't working with back into the fridge to keep cool.
On a very lightly floured surface, or not floured at all, roll out the dough until it is about twice the length of the loaf pan you are using. (The width is not as important as the length - I watched this video, and you can see about the size around 2:06.) Don't aim for dough that is too thin, about 1/8 of an inch is what mine was.
Spread 1/3 of the chocolate mixture evenly over the dough, leaving a bit of a border so that the dough will seal. Starting with the long edge nearest you, begin to roll the dough up until you have a long snake. Find the mid-point, and slice through it so that you have two equal sized pieces. Place the pieces side by side, seam down, so that the cut edges are opposite (about 5:10 in the video above), and then gently twist from the center out so you have a nice, even twist throughout the bread. Tuck it carefully into the buttered loaf pan, and set aside while you complete the others.
When all three loaves are completed, put them on a sheet pan and cover with a clean cloth. The best way to proof the breads is by this setup: Arrange the oven racks so that there is one on the bottom and one in the second position from the bottom. Put an empty cake pan on the bottom rack, boil some water, and fill it. As soon as it's filled, put the tray of breads on the rack above it and close the door. Leave to rise until the dough is cresting the top of the pans, about 2 hours.
Just before the dough is about done rising, remove them from the makeshift proofer, remove the cake pan full of water, and preheat the oven to 500 degrees. (The oven racks can stay in the same position.) Let the oven heat for a good half an hour to ensure it is hot enough. When ready to bake, beat an egg with a teaspoon of water and brush the tops of the breads. Open the oven, and place the tray of three breads on the second to the bottom rack of the oven. Immediately reduce the heat to 450. Set the timer for 20 minutes. After 20 minutes, the breads should already been a deep golden brown, but they still need to bake for an additional 15-20 more minutes. Cover them with a sheet of aluminum foil if they are in danger of getting too dark.
After the breads have baked a total of 40-45 minutes, remove the tray from the oven. One at a time, immediately remove the breads from the pans to a wire rack. (If you buttered well, they should come out easily.) If the sides of the breads feel firm, the breads are done - if they have some give, they will cave in as they cool... so return to the loaf pan and pop them back in the oven. As with all breads, let them cool before slicing, but since there are three loaves, you can be impatient with one and slice into it after 20 minutes if you can't wait.
Chocolate - Cinnamon Mixture (adapted from Peter Reinhart via the Purple Foodie)
- 225 g. dark chocolate (about 1 1/2 cups), grated (I used Callebaut bittersweet)
- 1 heaping t. cinnamon
- 1 heaping t. espresso powder
- pinch of Kosher salt
- 55 g. butter (about 1/4 cup), melted
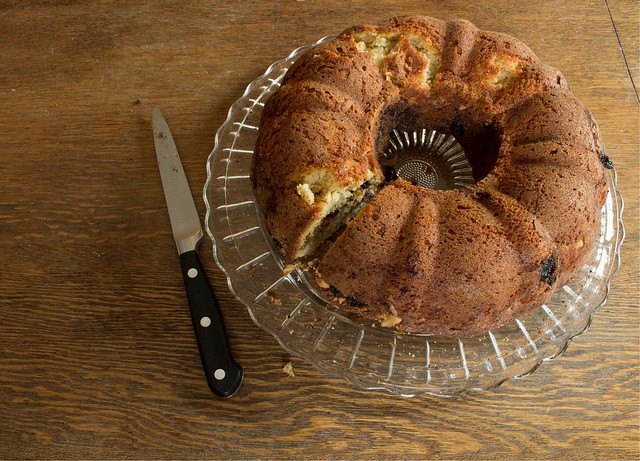
Is this bread worth three days of waiting? Yes. And aside from just eating it still warm from the oven, it makes marvelous toast or French toast.
I hope I'm back to stay in this baking group! I sure was happy with the experimenting this month - and I can't wait to see what's up next!
(This post has also been Yeastspotted.)
I hope I'm back to stay in this baking group! I sure was happy with the experimenting this month - and I can't wait to see what's up next!
(This post has also been Yeastspotted.)