Sarah from All Our Fingers in the Pie was our February 2013 Daring
Bakers’ host and she challenges us to use our creativity in making our
own Crisp Flatbreads and Crackers!
Crackers are kind of near and dear to my heart. Over the recent years, I've made more of them than ever before, in part because I was honored to be a part of recipe testing for a cookbook all about them! The book Ivy Manning wrote called Crackers & Dips, is available now for preorder (the release is scheduled for early May), and you should definitely drop it into your cart right away, because I can tell you that the recipes are all solid additions to your kitchen DIY repertoire.
More than a year ago I wrote about testing for Ivy, and my post included a recipe for crisp rye crackers that didn't make the cookbook cut. I also mentioned that of all the things made at home, crackers are some of the things that impress people most. For not a lot of effort, you have truly extraordinary (indeed nearly professional) results - results that don't include ridiculous amounts of fake ingredients or preservatives, and that keep a surprisingly long time if baked crisp and stored airtight.
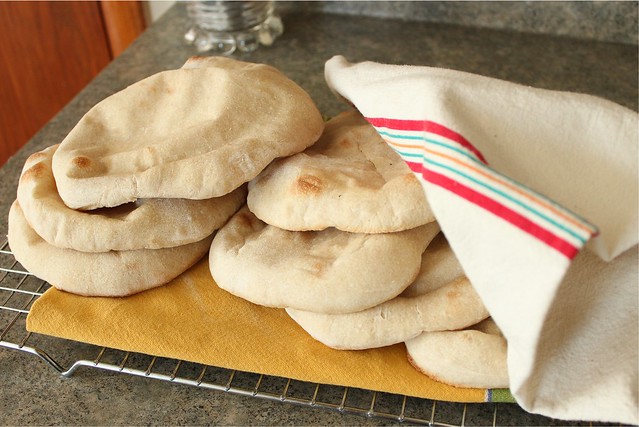
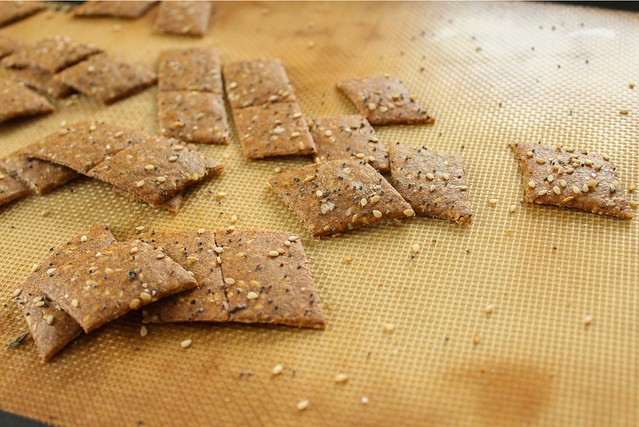
Already a seasoned cracker producer, I decided to make a recipe straightforward that I'd never made before for the challenge this month, one that belongs to Peter Reinhart and also includes rye flour. They are wholesome and slightly sweet, with good amounts of pumpkin and sunflower seeds. I meant to get around to making a version with a bit of sourdough starter, but that will have to be on the future docket as time got away from me.
In a large bowl, combine the seed, powders with the sesame seeds, rye flour, salt, oil, honey, and water. Stir with a sturdy spoon until a dough comes together, then turn out onto a lightly floured (rye floured) surface a knead a few times to incorporate everything well. The dough should be a bit tacky but not sticky. You can roll and bake them right away or put the dough into an airtight container and let it rest in the fridge for up to a week. It can also be wrapped well and stored in the freezer for a few months.
When ready to bake, preheat the oven to 300 degrees. Divide the dough into 3 or 4 parts. Between sheets of parchment paper (or better, on a silicone baking mat), roll one part of dough as thin as you are able, about 1/16 inch thick. (I like using a silicone mat with a pastry roller. If using parchment or rolling conventionally, you may need to use a bit of flour to keep the dough from sticking.)
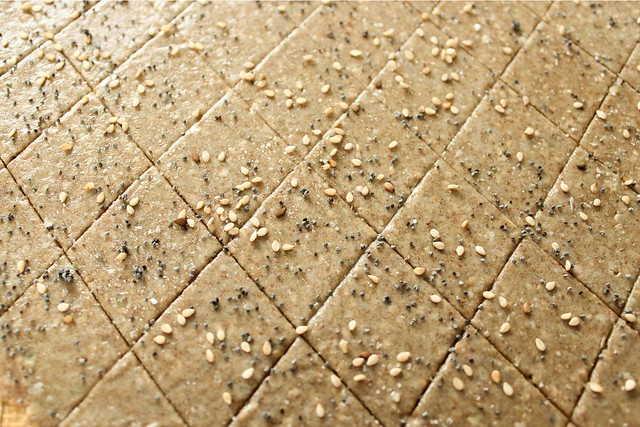
Using a pizza cutter, cut the crackers into your desired shape, I like diamonds that I don't bother to separate to eliminate any trace of waste. Brush well with egg white wash (or sweet wash of 1 T. honey or agave beaten with 3 T. water), and sprinkle with a seed garnish and kosher salt.
Bake for 25-35 minutes, until the crackers are mostly crisp. Remove the pan from the oven and let them cool for several minutes. If you see some of the edge crackers done more thoroughly, remove them from the oven first and continue baking the rest until they are crisp. (The crackers will firm up even more as they cool.) If you bake the crackers, cool them, and then discover they are not quite crisp, return them to the oven for several minutes until they firm up.
Cool the crackers completely, then store airtight in glass jars where they will keep for at least a week, but probably longer.

More than a year ago I wrote about testing for Ivy, and my post included a recipe for crisp rye crackers that didn't make the cookbook cut. I also mentioned that of all the things made at home, crackers are some of the things that impress people most. For not a lot of effort, you have truly extraordinary (indeed nearly professional) results - results that don't include ridiculous amounts of fake ingredients or preservatives, and that keep a surprisingly long time if baked crisp and stored airtight.
Already a seasoned cracker producer, I decided to make a recipe straightforward that I'd never made before for the challenge this month, one that belongs to Peter Reinhart and also includes rye flour. They are wholesome and slightly sweet, with good amounts of pumpkin and sunflower seeds. I meant to get around to making a version with a bit of sourdough starter, but that will have to be on the future docket as time got away from me.
Reinhart gave both weight and conventional measurements, I haphazardly threw these together a couple of days before I baked using a combination of the two methods. Resting in the fridge makes the dough easier to handle, and deepens the flavor slightly. I'd wager it is better treatment of the grains as well, akin to soaking them.
Crispy Rye Crackers (very slightly adapted from Peter Reinhart, Artisan Breads Every Day)
- 1/4 c. (42.5 g.) sunflower seeds
- 1/4 c. (42.5 g.) pumpkin seeds
- 3 T. (28.5 g.) flaxseeds (or use 28 g. flax meal)
- 6 T. (56.5 g.) sesame seeds
- 1 1/4 c. (227 g.) rye flour
- 1/4 t. kosher salt
- 2 T. olive oil
- 1 T. honey (or agave nectar)
- 3/4 c. (170 g.) water, room temperature
- egg white wash (1 egg white beaten with 2 t. water) (optional sweet wash, noted below)
- mixed seeds for garnish (I used poppy seed)
- kosher salt for garnish
In a large bowl, combine the seed, powders with the sesame seeds, rye flour, salt, oil, honey, and water. Stir with a sturdy spoon until a dough comes together, then turn out onto a lightly floured (rye floured) surface a knead a few times to incorporate everything well. The dough should be a bit tacky but not sticky. You can roll and bake them right away or put the dough into an airtight container and let it rest in the fridge for up to a week. It can also be wrapped well and stored in the freezer for a few months.
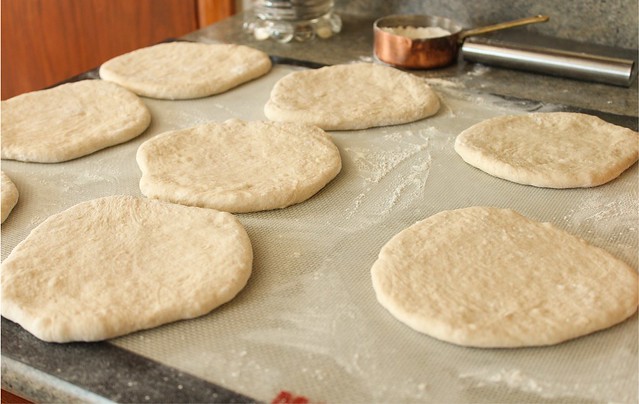
When ready to bake, preheat the oven to 300 degrees. Divide the dough into 3 or 4 parts. Between sheets of parchment paper (or better, on a silicone baking mat), roll one part of dough as thin as you are able, about 1/16 inch thick. (I like using a silicone mat with a pastry roller. If using parchment or rolling conventionally, you may need to use a bit of flour to keep the dough from sticking.)
Using a pizza cutter, cut the crackers into your desired shape, I like diamonds that I don't bother to separate to eliminate any trace of waste. Brush well with egg white wash (or sweet wash of 1 T. honey or agave beaten with 3 T. water), and sprinkle with a seed garnish and kosher salt.
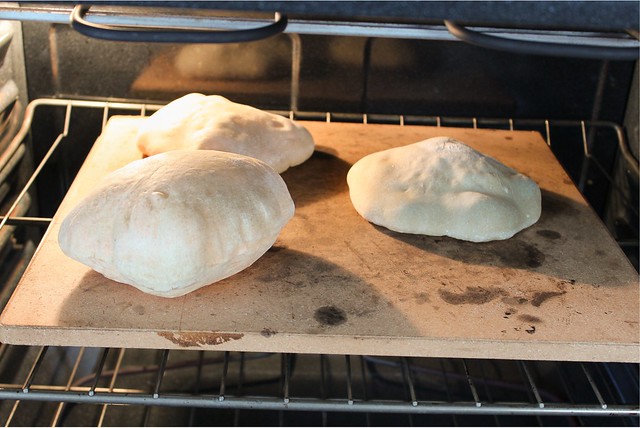
Bake for 25-35 minutes, until the crackers are mostly crisp. Remove the pan from the oven and let them cool for several minutes. If you see some of the edge crackers done more thoroughly, remove them from the oven first and continue baking the rest until they are crisp. (The crackers will firm up even more as they cool.) If you bake the crackers, cool them, and then discover they are not quite crisp, return them to the oven for several minutes until they firm up.
Cool the crackers completely, then store airtight in glass jars where they will keep for at least a week, but probably longer.
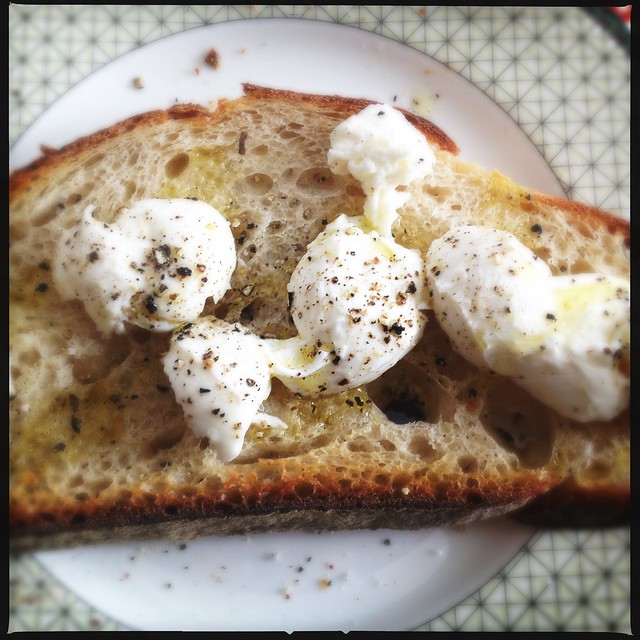
I was surprised that both of my boys loved these and happily ate them with cheese. I liked their nutty flavor, handsome appearance, wholesome snacking quality, and keeping power. They are a great thing to reach for when packing a lunch or needing a snack.
Be sure to check out the Daring Baker website for more cracker recipes, and the Daring Baker Blogroll for more participating bakers and inspirational cracker ideas!
Be sure to check out the Daring Baker website for more cracker recipes, and the Daring Baker Blogroll for more participating bakers and inspirational cracker ideas!