I'm so happy to see the book I've already read and immensely enjoyed popping up on all kinds of gift lists and book recommends lately, but with every mention I have felt more and more guilty that I didn't write a more timely review. I have read quite a few books this year, but this one struck more of an immediate chord with me than many others. Yes, I went through a fermenting phase, but this book reminded me of all the things exciting about the natural world, how simple things like vegetables have been handled and transformed for storage for as long as humankind has needed hold on to the season. It also reminded me of just how beautiful the finished products can be, as varied and colorful as all of nature. The Shockeys refer to the palette of vegetables, and that term definitely fits.

It's gorgeously written too, I would challenge you not to read every word as I did back in October over a long weekend at my Parents farm, imagining yourself in a world of homesteading and pickling. I sat in my Dad's comfortable chair with a stack of sticky notes and made a list of things to pick up at the Amish farm stands before leaving to come back to the city... sort of wishing I could just stay out in the country without coming back at all.
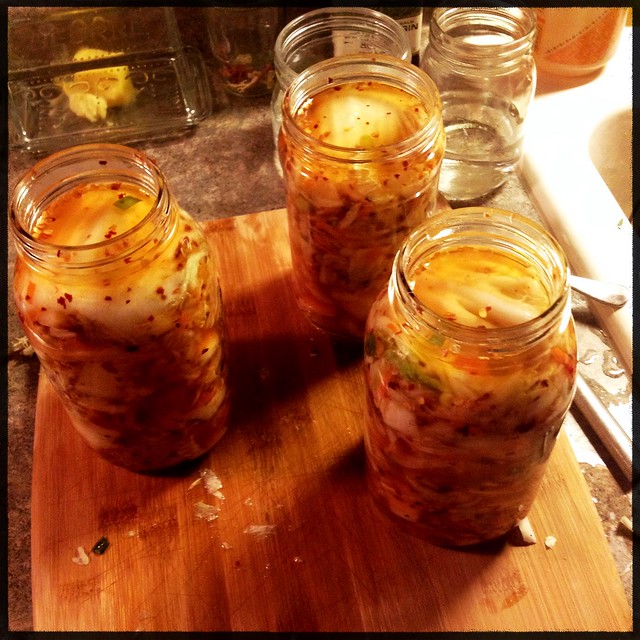
I made time the night I got back to start a kimchi. I never made a vegetable ferment that started by brining the whole cabbage cut in quarters, and it really worked well. Not overly fond of fermented garlic, the only modification I made was to cut the garlic content way back. I packed three quarts before bed that night, and then only had to wait a long 12 days for it to ferment at room temperature before it was done to my liking.

I can't say I've had kimchi more than seldom, but I remember the first time like it was yesterday. Our high school had open campus for lunch; so long as you didn't drive anywhere you were free to roam the town (population 850). Fortunately for me, I met a new student my sophomore year that quickly became a friend. Her mother was Korean, and in her little kitchen, mere steps away from the back door of the wood shop where I tried to spend as much of my high school career as possible, I discovered all kinds of interesting flavors I had never encountered before.
Now I wish I knew if her mom made her kimchi from scratch, but at the time I didn't want to spend much time in the kitchen and probably wouldn't have thought to ask about such things. I can't remember what I tried alongside the kimchi that day, but I'm sure it contained rice - I didn't know that some people kept constant pots of rice going in small electric cookers, that rice was integral to a whole culture and was eaten with every meal. I never have traveled to Asia, but those days in 10th grade have stuck with me and every so often I get a real craving for those types of flavors...
I wasn't able to start fermenting all of the things that piqued my interest in Fermented Vegetables, but I am so excited to have this book as a resource for the upcoming seasons. Whether you have fermented forever or have never fermented before, this book really is an excellent resource for cultivating a growing addiction or lighting a fire under a timid, first timer. It has reignited the passion I once had for fermenting, and is going to be a first stop for new ferments for a good long while I suppose!
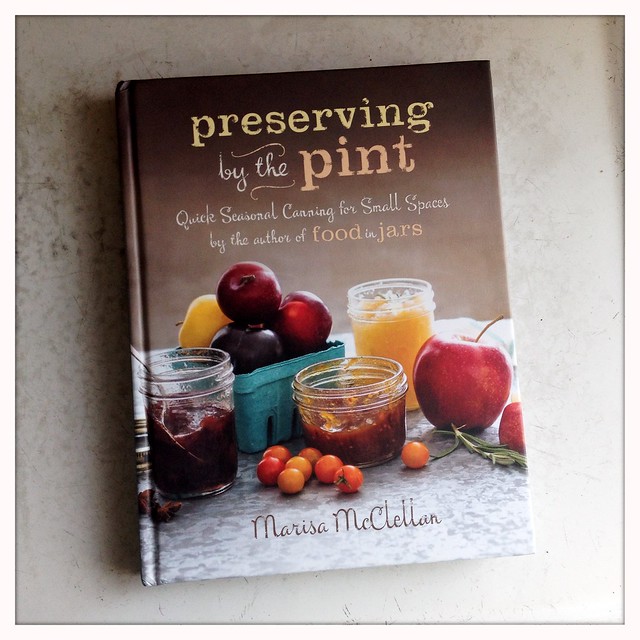
Disclaimer: I did receive a copy of Fermented Vegetables for review, but as always my opinions are my own.
I made time the night I got back to start a kimchi. I never made a vegetable ferment that started by brining the whole cabbage cut in quarters, and it really worked well. Not overly fond of fermented garlic, the only modification I made was to cut the garlic content way back. I packed three quarts before bed that night, and then only had to wait a long 12 days for it to ferment at room temperature before it was done to my liking.
Now I wish I knew if her mom made her kimchi from scratch, but at the time I didn't want to spend much time in the kitchen and probably wouldn't have thought to ask about such things. I can't remember what I tried alongside the kimchi that day, but I'm sure it contained rice - I didn't know that some people kept constant pots of rice going in small electric cookers, that rice was integral to a whole culture and was eaten with every meal. I never have traveled to Asia, but those days in 10th grade have stuck with me and every so often I get a real craving for those types of flavors...
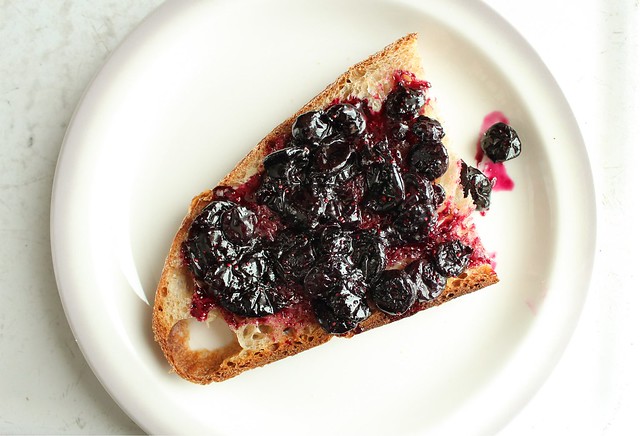
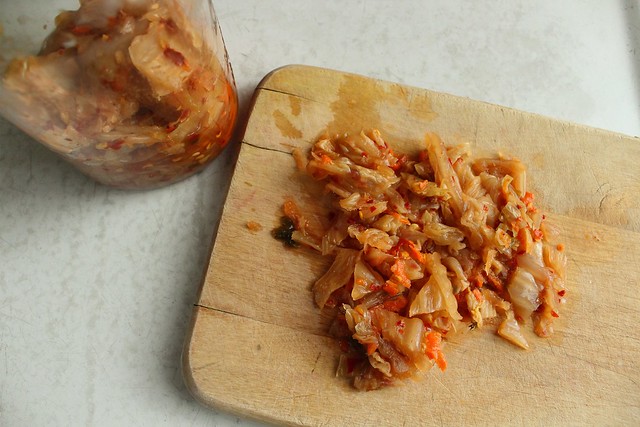
It's easy enough to eat a spoonful or two of fermented veg right from the jar, likely with the fridge hanging open when you're pondering what else to eat for lunch. But I thought that since I made such a lovely kimchi with the Fermentistas' help, I would make myself a more complex rice bowl. I chopped up a good amount of kimchi, steamed some kale, found some already roasted beets, made a 6 minute egg and a simple dressing with ginger and sesame oil. Then I ignored the silly amount of dishes I made for myself and sat down to a very nice lunch.
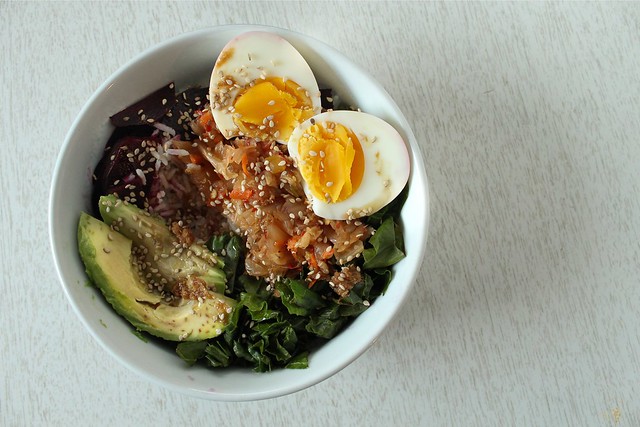
It was really good, and satisfied my craving for Asian flavors.
I wasn't able to start fermenting all of the things that piqued my interest in Fermented Vegetables, but I am so excited to have this book as a resource for the upcoming seasons. Whether you have fermented forever or have never fermented before, this book really is an excellent resource for cultivating a growing addiction or lighting a fire under a timid, first timer. It has reignited the passion I once had for fermenting, and is going to be a first stop for new ferments for a good long while I suppose!
Disclaimer: I did receive a copy of Fermented Vegetables for review, but as always my opinions are my own.